Guide to drag and drop in svelte from scratch
Read if: Wanna learn about drag and drop in svelte using browser api's. Wanna learn custom...

Read if:
- Wanna learn about drag and drop in svelte using browser api's.
- Wanna learn custom animation in svelte.
Example
- This is the link for demo on stackblitz
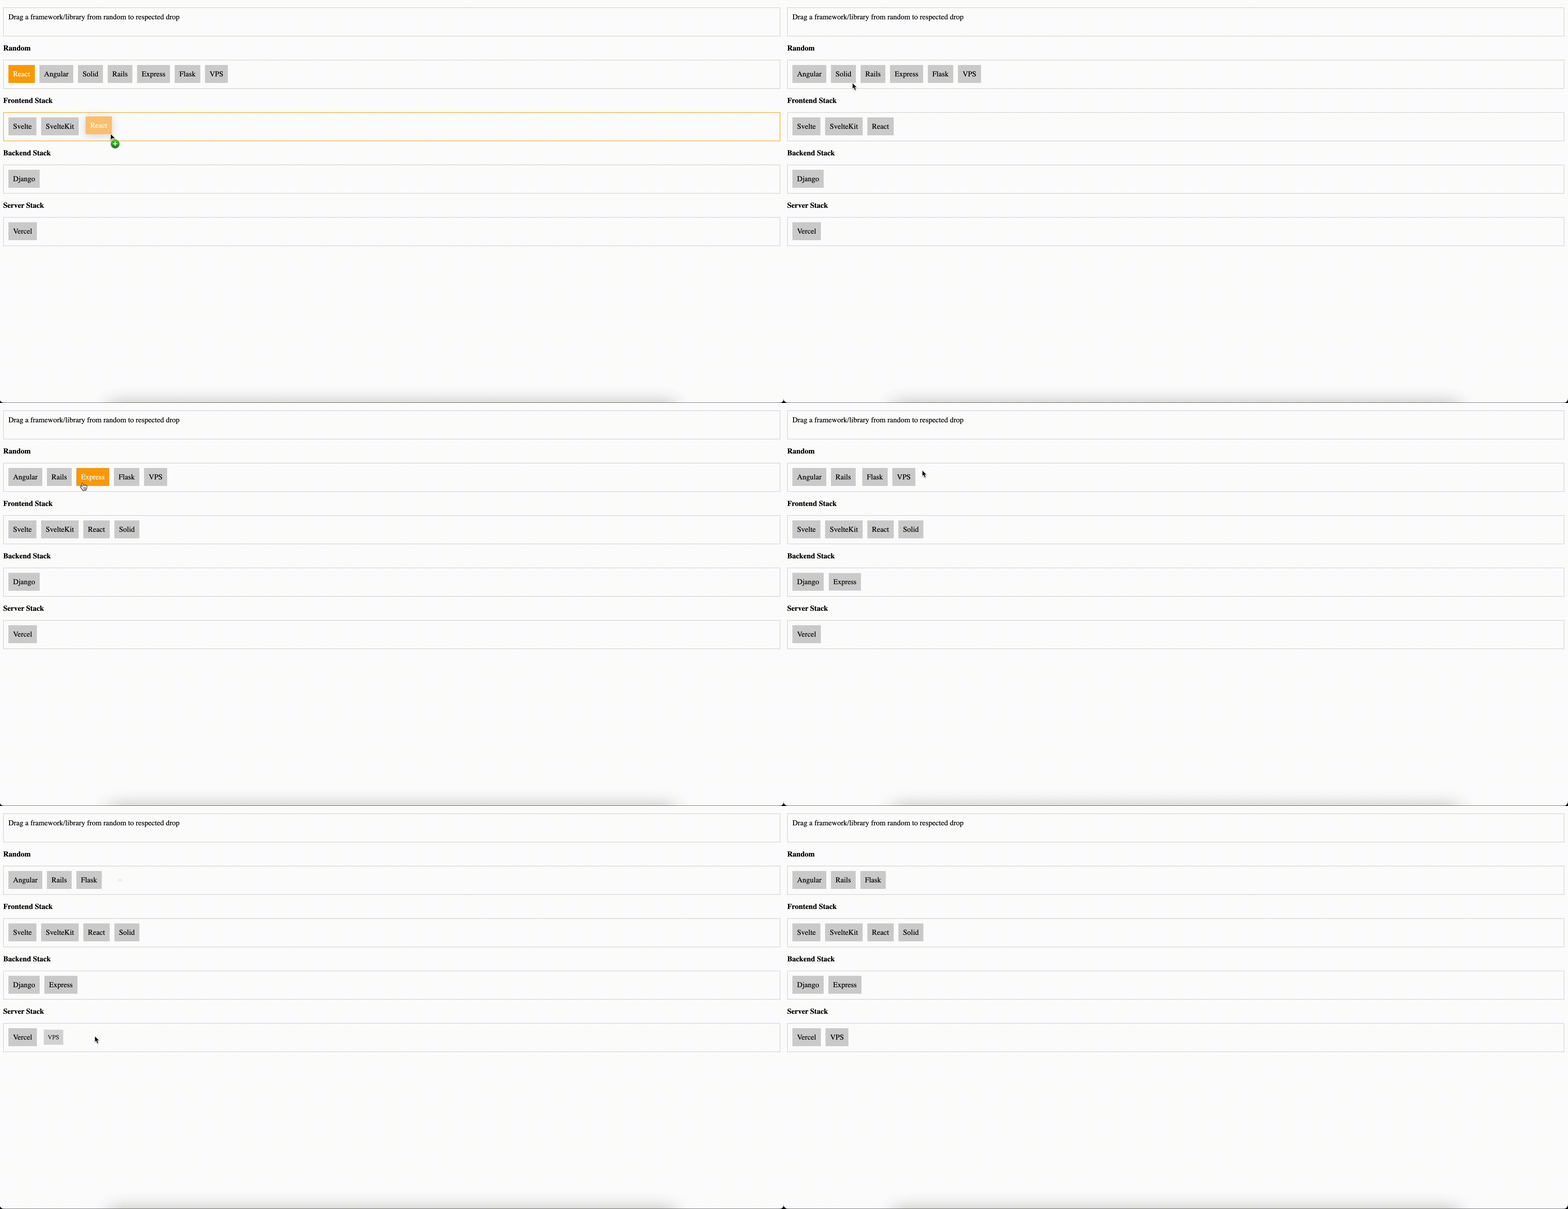
Introduction We always have something we drag and in web development those are drag and drop events. Here, I'm gonna share a basic example of drag and drop in svelte using browser apis from scratch and you can use it svelteKit.
What we need? First you gonna need to setup your svelte project and in this guide I'm not gonna focus on design/css. It's on you how you use it.
- Setup your svelte project
- Install internal dependencies
- Open your project and open your
index.sveltefile
That' your usual svelte setup.
Code Explanation
<script>
	import {flip} from 'svelte/animate';
	import { send, receive } from './transition.js';
	let RandomStack = [
		{
			"name": "Random",
			"items": ["React", "Angular", "Solid", "Rails", "Express", "Flask", "VPS"]
		},
    {
      "name": "Frontend Stack",
      "items": ["Svelte", "SvelteKit"]
    },
    {
      "name": "Backend Stack",
      "items": ["Django"]
    },
		{
      "name": "Server Stack",
      "items": ["Vercel"]
    }
  ];

	let stackHover;

	function dragStart(event, stackIndex, itemIndex) {
		const data = {stackIndex, itemIndex};
   	event.dataTransfer.setData('text/plain', JSON.stringify(data));
	}

	function drop(event, stackIndex) {
		event.preventDefault();
    const json = event.dataTransfer.getData("text/plain");
		const data = JSON.parse(json);
		const [item] = RandomStack[data.stackIndex].items.splice(data.itemIndex, 1);
		RandomStack[stackIndex].items.push(item);
		RandomStack = RandomStack;

		stackHover = null;
	}
</script>

<p>Drag a framework/library from random to respected drop</p>

{#each RandomStack as stack, stackIndex (stack)}
  <div animate:flip>
    <b>{stack.name}</b>
    <p
	  	class:hovering={stackHover === stack.name}
	    on:dragenter={() => stackHover = stack.name}
      on:dragleave={() => stackHover = null}
  		on:drop={event => drop(event, stackIndex)}
  		ondragover="return false"
    >
	    {#each stack.items as item, itemIndex (item)}
			  <div class="item" in:receive={{ key: itemIndex }}
		out:send={{ key: itemIndex }}
		animate:flip={{ duration: 500 }}>
	      	<li
	    	    draggable={true}
		  		  on:dragstart={event => dragStart(event, stackIndex, itemIndex)}
		    	>
		      	{item}
	    	  </li>
			  </div>
	    {/each}
    </p>
  </div>
{/each}

<style>
	.hovering {
		border-color: orange;
	}
	.item {
		display: inline; /* required for flip to work */
	}
	li {
		background-color: lightgray;
		cursor: pointer;
		display: inline-block;
		margin-right: 10px;
		padding: 10px;
	}
	li:hover {
		background: orange;
		color: white;
	}
  p {
		border: solid lightgray 1px;
		display: flex; /* required for drag & drop to work when .item display is inline */
		height: 40px; /* needed when empty */
		padding: 10px;
	}
</style>
Here above i started with RandomStack, I assigned my object and items to it on the basis of it will show items in drag and drop list.
<p>Drag a framework/library from random to respected drop</p>

{#each RandomStack as stack, stackIndex (stack)}
  <div animate:flip>
    <b>{stack.name}</b>
    <p
	  	class:hovering={stackHover === stack.name}
	    on:dragenter={() => stackHover = stack.name}
      on:dragleave={() => stackHover = null}
  		on:drop={event => drop(event, stackIndex)}
  		on:dragover="return false"
    >
	    {#each stack.items as item, itemIndex (item)}
			  <div class="item" in:receive={{ key: itemIndex }}
		out:send={{ key: itemIndex }}
		animate:flip={{ duration: 500 }}>
	      	<li
	    	    draggable={true}
		  		  on:dragstart={event => dragStart(event, stackIndex, itemIndex)}
		    	>
		      	{item}
	    	  </li>
			  </div>
	    {/each}
    </p>
  </div>
{/each}
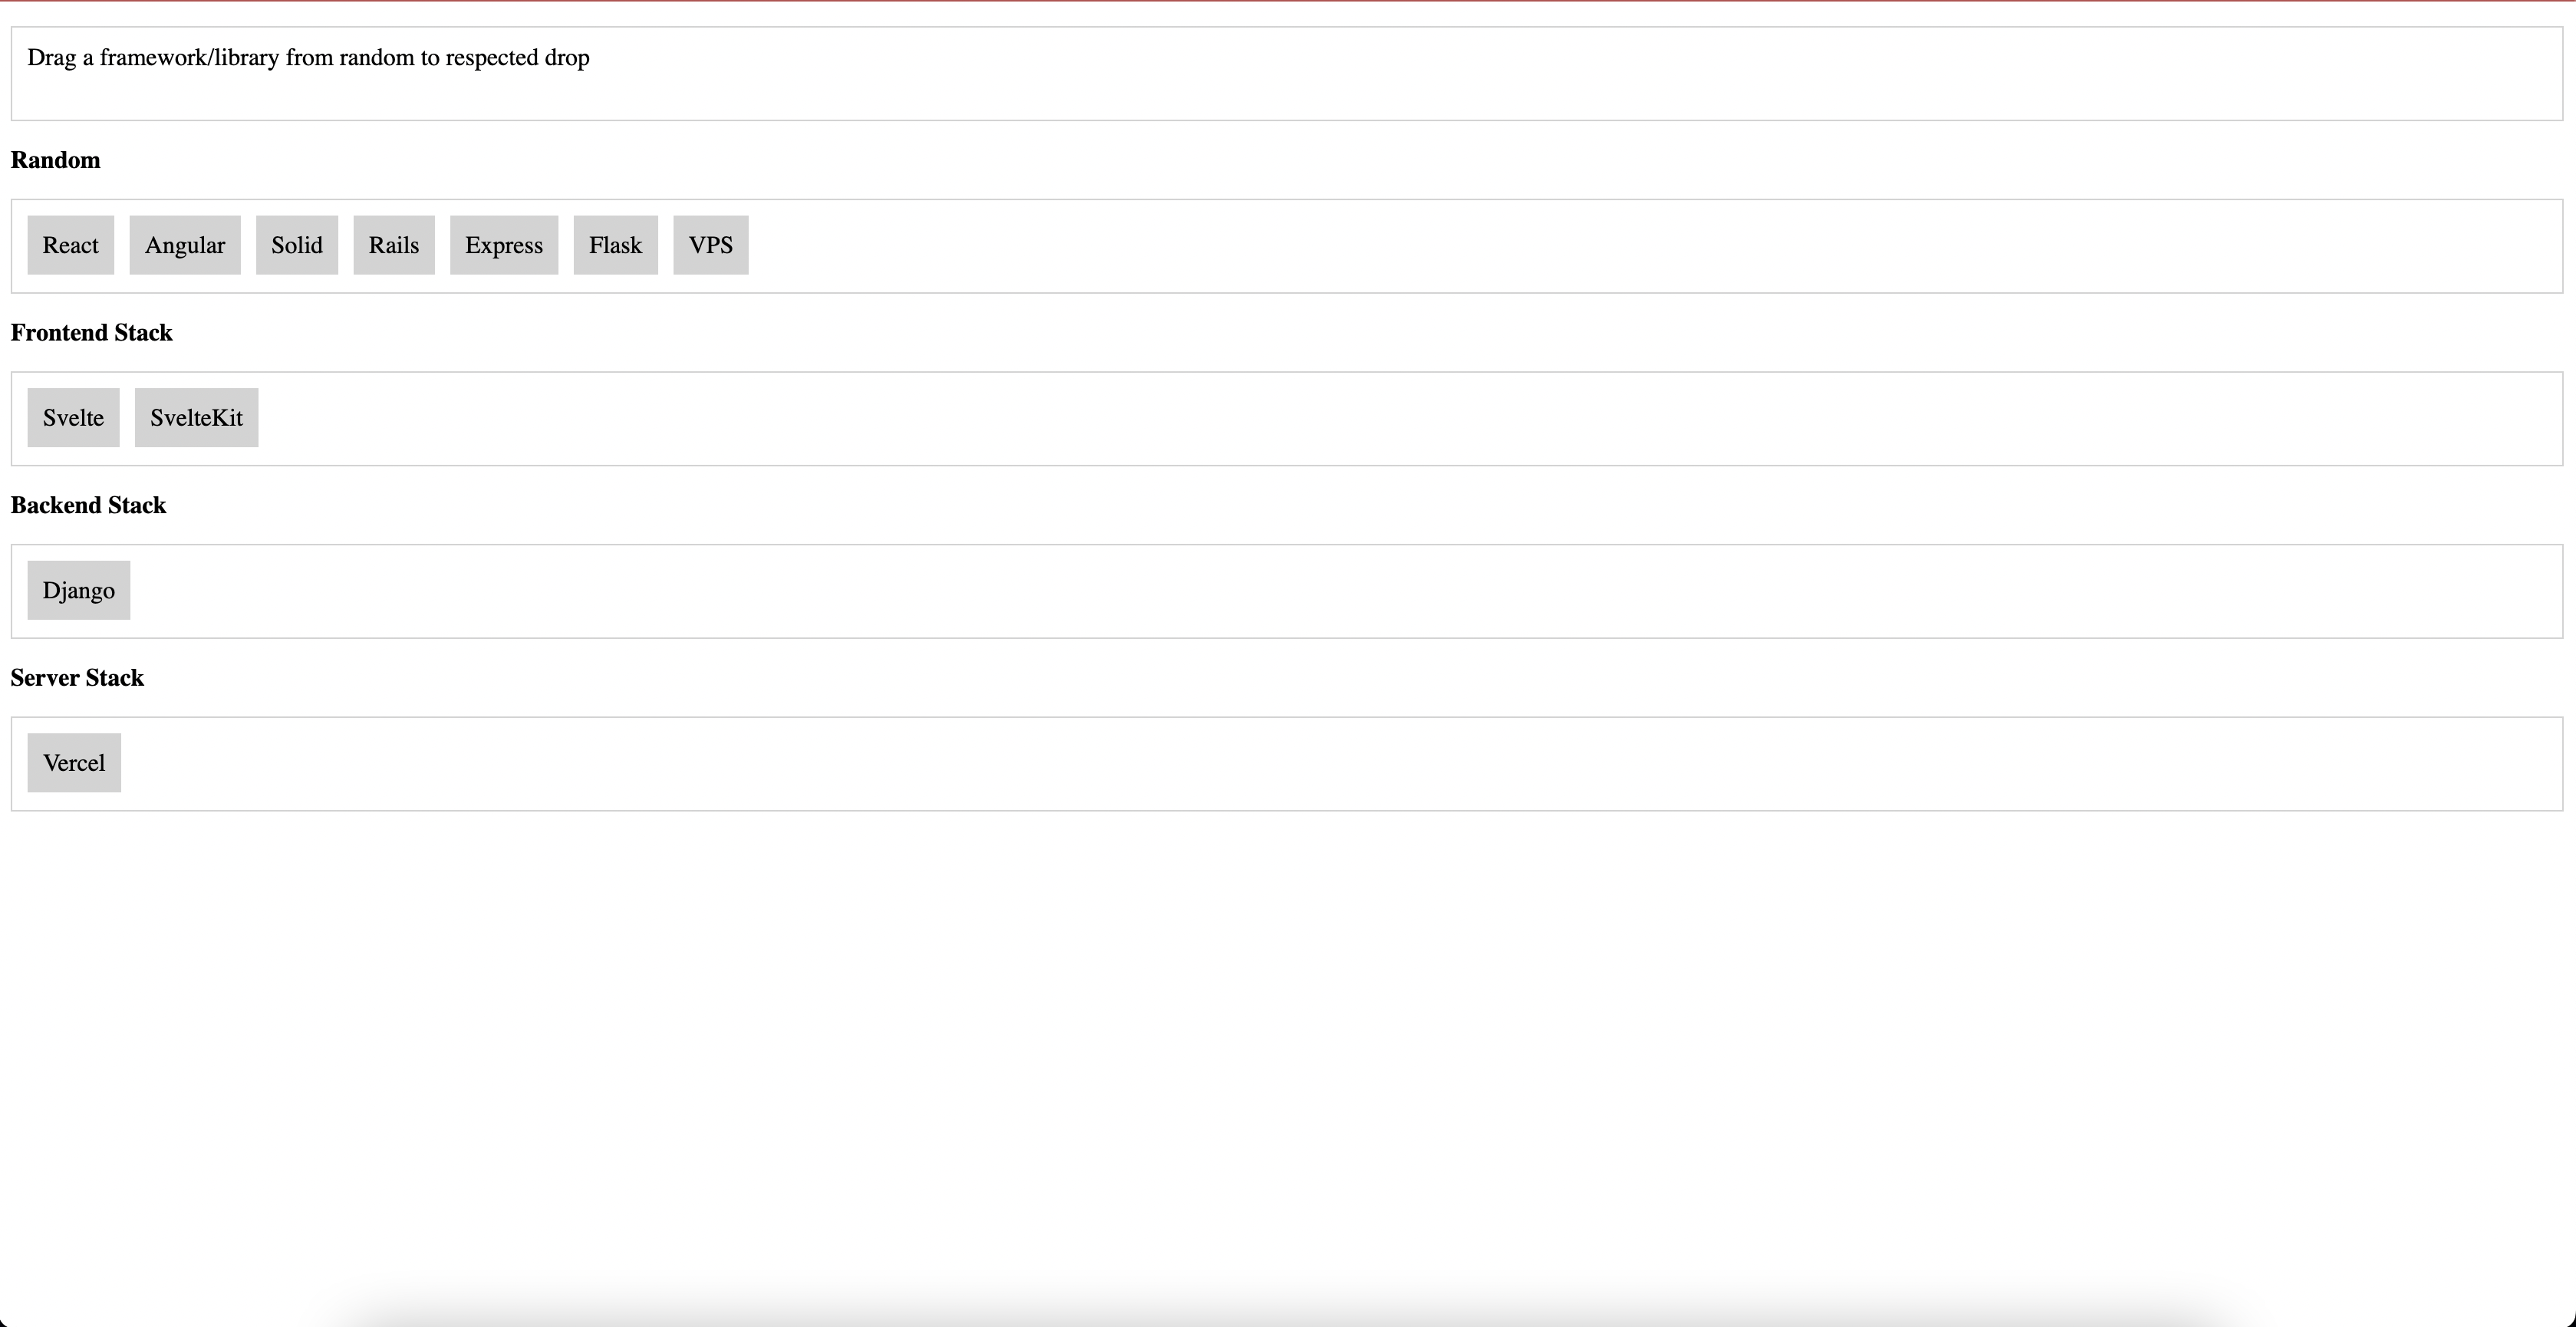
Here, I'm first setting up items #each loop for svelte templating. This is how it's gonna look like
-
Above I'm using
dragstart,dragenter,dragleave,dropbrowser events to make items draggle. -
dragstart: It takes which item and from which stack we started drag.
// function called
on:dragstart={event => dragStart(event, stackIndex, itemIndex)}

// dragStart function
function dragStart(event, stackIndex, itemIndex) {
		const data = { stackIndex, itemIndex };
		event.dataTransfer.setData('text/plain', JSON.stringify(data));
	}
Here we are setting our data to event so we can access same data on drop event.
-
dragenter: This event is fired when a dragged element or text selection enters a valid drop target. -
dragleave: This event is fired when a dragged element or text selection leaves a valid drop target. -
drop: It takes which dropzone it came from and event so we can remove item from last drag zone and add it too new drag zone.
\\ html function call
on:drop={(event) => drop(event, stackIndex)}

\\ function which is called while drop
	function drop(event, stackIndex) {
		event.preventDefault();
		const json = event.dataTransfer.getData('text/plain');
		const data = JSON.parse(json);
		const [item] = RandomStack[data.stackIndex].items.splice(data.itemIndex, 1);
		RandomStack[stackIndex].items.push(item);
		RandomStack = RandomStack;

		stackHover = null;
	}
In function we are accessing transferred data from drag start and using that we are removing item from last drag zone and adding it to new zone.
This is how you you make a drag and drop using browser api's. Now I'm gonna a code snippet i learned from Svelte Learn
import { crossfade } from 'svelte/transition';
import { quintOut } from 'svelte/easing';

export const [send, receive] = crossfade({
	duration: (d) => Math.sqrt(d * 200),

	fallback(node, params) {
		const style = getComputedStyle(node);
		const transform = style.transform === 'none' ? '' : style.transform;

		return {
			duration: 600,
			easing: quintOut,
			css: (t) => `
				transform: ${transform} scale(${t});
				opacity: ${t}
			`
		};
	}
});
Here we are extending our default crossfade transition using receiver and sender functions which takes your node and animate as per your need. You can define custom css and styles. You can see a better explanation on learn.svelte.dev
This is me writing for you. If you wanna ask or suggest anything please put it in comment.
Keep reading
What building an email platform taught me about where Cloudflare's edge pushes back
I've spent the last few months building Doota — a self-hosted email application that runs entirely on Cloudflare.
Building ContainerKit: GUI for Apple's Container CLI with Tauri and Svelte 5
Introduction I’ve been working on ContainerKit, a desktop application designed to provide...
I take on a small number of projects at a time.
Tell me what you're building and where it hurts. I'll say honestly whether I'm the right person for it.